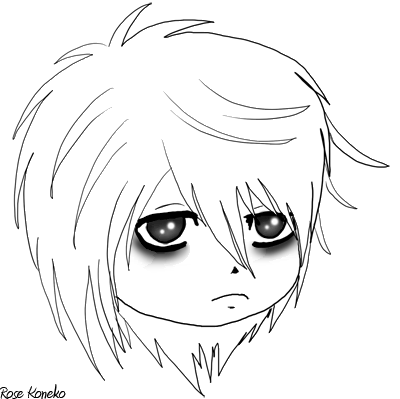
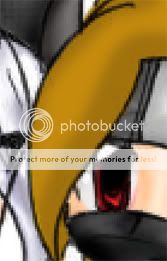
[Edit] - Click View More to see this tutorial~ XD I've made it easier on those who have dial up. <3
<span id="test6906095">. . .</span><br/><div id="post6906095" style="display:none; margin-right:75px;">
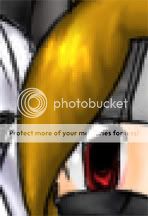
First, color the hair. As I said... lazy, so I lock the layer as shown in the previous entry.

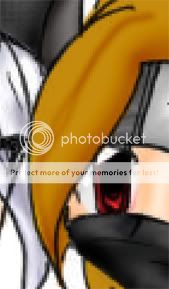
Now is the time to shade. There are several ways to shade, and I'm decent at a few ways. First is the cel shading technique -
Use a brush, and with black (opacity set at 10-30% depending on preferences
 ) go over the shadowed areas. This will give it a more 'anime' look, as that's what cel shading is. xd
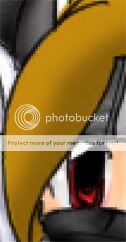
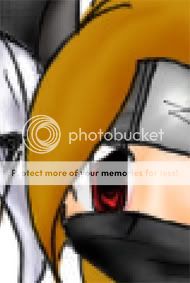
Now use a white at a lesser opacity, and go over where the light may bounce.
Second up is a little harder, but a lazy way to do CG hair.
Take your burn brush, and burn in some shadows. You can be a little sloppy, the smuge brush shall help hide any errors. xd
Now smudge it. ^^
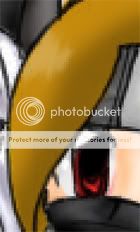
Okay, now grab your dodge brush, and go over the high points. You may smudge if you'd like, though I was happy with what I came up with.
Time for the highlights!
Alright, final step. Go over it with a very fine smudge brush. It'll give it a more hair-ish appearance.
Feel free to mess with it more, if you'd like. Add more definition, or more highlights. Or smudge the highlights, and go over it again. Just keep in mind that hair is never uniform, instead of making straight lines, watch the curves.
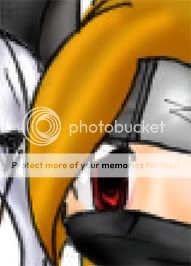
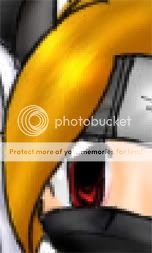
Not a good highlight -
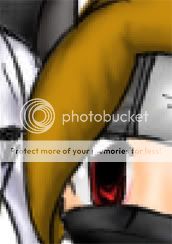
 Better highlight -
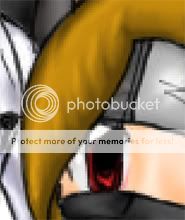
Now for the final CG technique.
Find a color just a little darker than the one you have as the main shade. Go over, and make the shadows.
Keep adding gradually darker shades until you get something you like. About four is what I used here. Now it may look odd, but I added a lot of 'detail' to show you what strands can look like, to give it more 'movement'. This one might be shaded just as one of those bump looking things might be, but it wouldn't be as helpful. XD Or, you can do it just like this. Which ever.
Alright, now use a lighter shade, and add highlights. Not the typical across the lock of hair as previous highlights, that'll come later.
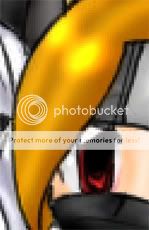
Now add the 'beam' of light.
xd It looks better zoomed out.
What you can do, and it helps a lot, is go over in a much lighter color (if you're doing blonde hair, then white) with the smallest brush possible, and add tiny shiny strands of hair. It looks great, but I couldn't demonstrate that, with the size picture I have.
Which brings me to another tip. If you color your own work, keep it at a large size, don't scale down unless it's painfully large. You can add more detail, and while it might not be quite as obvious, it'll give your picture more depth.
I hope that helps! ^^ Happy coloring. Next time, I'll do skin.</div>