
NOTICE: After working on soldering, parts of this tutorial will need to be changed. Turned out I got some parts wrong; certain LEDs need a resistor to work properly while all are powered, or else the Amperage will cause them to blow up and the whole thing is crap.
First Things First
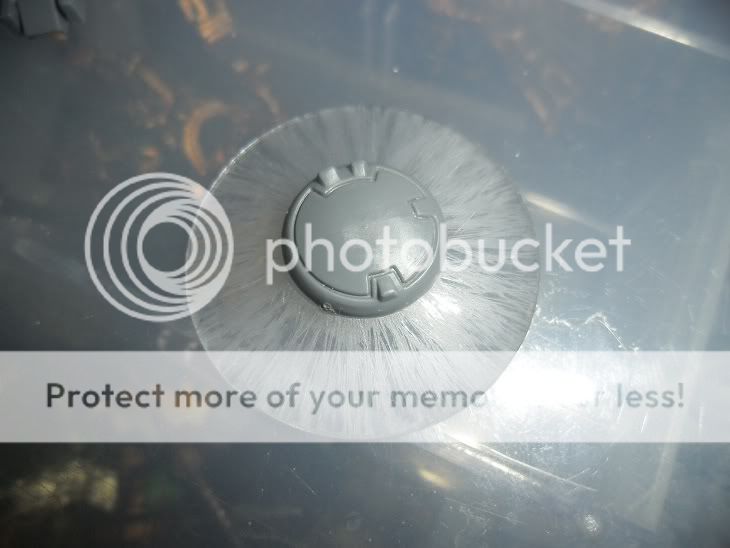
To start with, simply detach the exhaust of the engines for the jump pack.
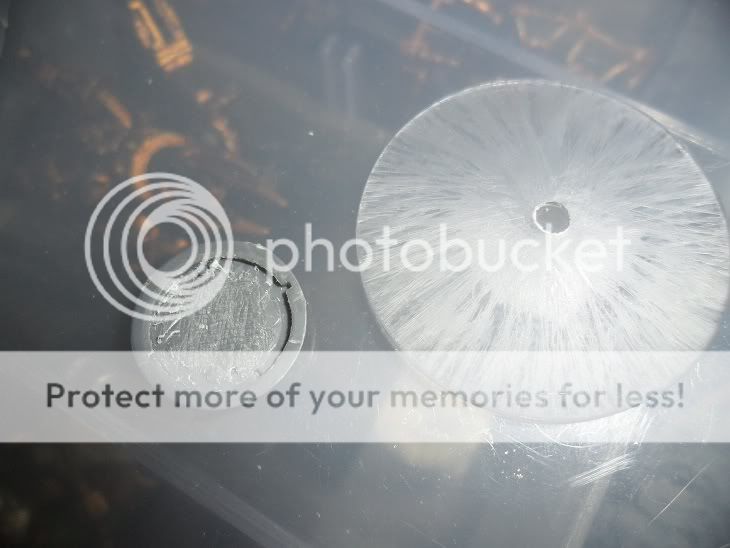
Now cut out the center of the back plate that they attach to. Follow the molding of the inside and don't worry about the hole for the clear rod to sit inside of, that piece already stops itself from simply falling into the pack.
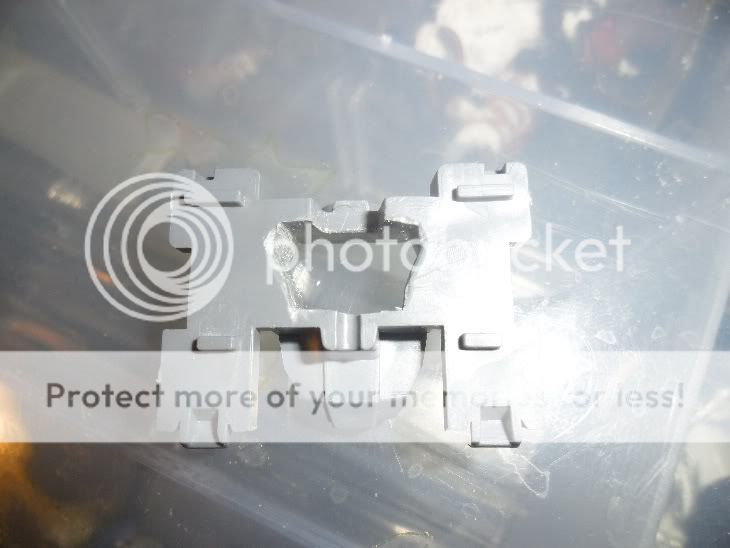
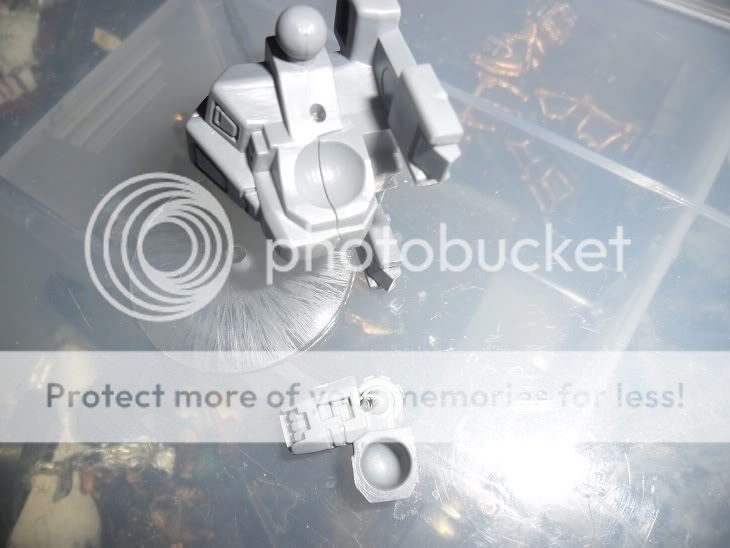
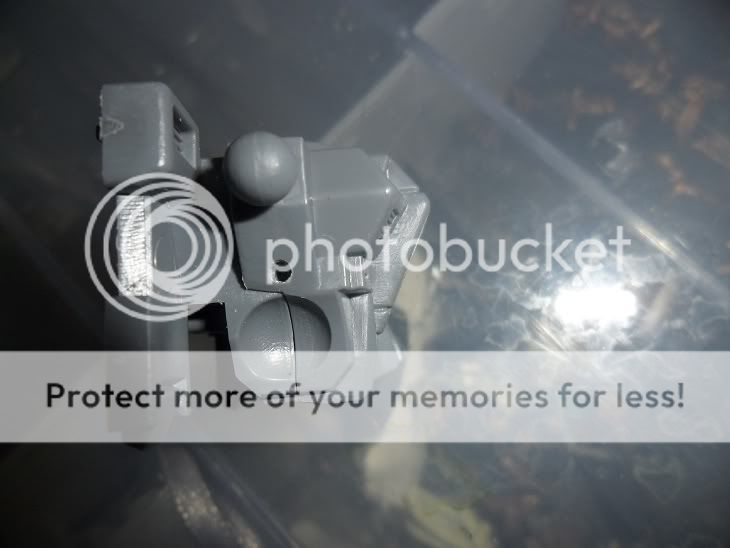
Be sure to dry-fit, you don't want to be missing parts and no gluing yet, there's a light inside of the chest piece to be placed. As you can see, I cut out the little space that is at the very front of the Suit. This will be the night time navigation or head light.
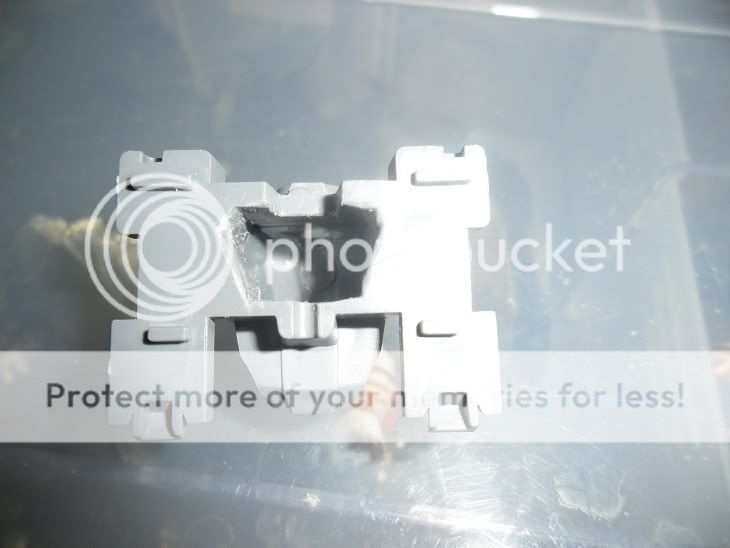
Now come the jump jets. I made sure to notch the plate they glue to for wires to pipe through, then cut away at the partial exhaust pieces to allow light to it, as it will be the farthest from any of the lights. Using a tap to hollowing the actual exhaust parts made it easier, as it only took a decent knife to make them square again.
The insides of them need to be emptied out even further, so I found out that cutting wedges out of the plastic made it pretty easy, as well as define the edges of where to stop cutting. These also have notches for the wires to pipe through later.
Setting Up The Shield
Now comes the three weapons and option that I chose to go with. I'll start with the Shield, as that will be most impressive on the table, while being the easiest piece to assemble.
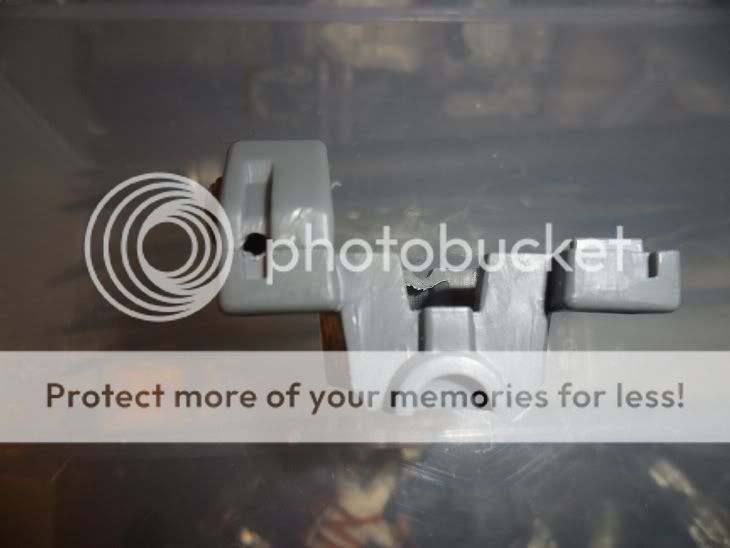
I started out with removing all of the bulk and fancy pieces that you never see on the backside of the shield, then ran a file, lightly, over a leftover Drone base.
I'm going to use it on the left arm, not much deviation from the typical placement, I know, but it's the only one that poses for it without being hacked to s**t. Here is the hole I tapped all the way through for the wires. I did it at an angle, so they will pipe out right in front of the elbow. Sometimes you just have to hide things behind other things.
Using a bit of Blue Tack or anything else sticky that will hold up a bit, I fit the arm in the pose I wanted and pushed the drill bit through the hole to see where it came out from, marked it, and tapped it forward of that spot, so the wires will flex between both holes to hide more effectively. I still haven't glued anything together.
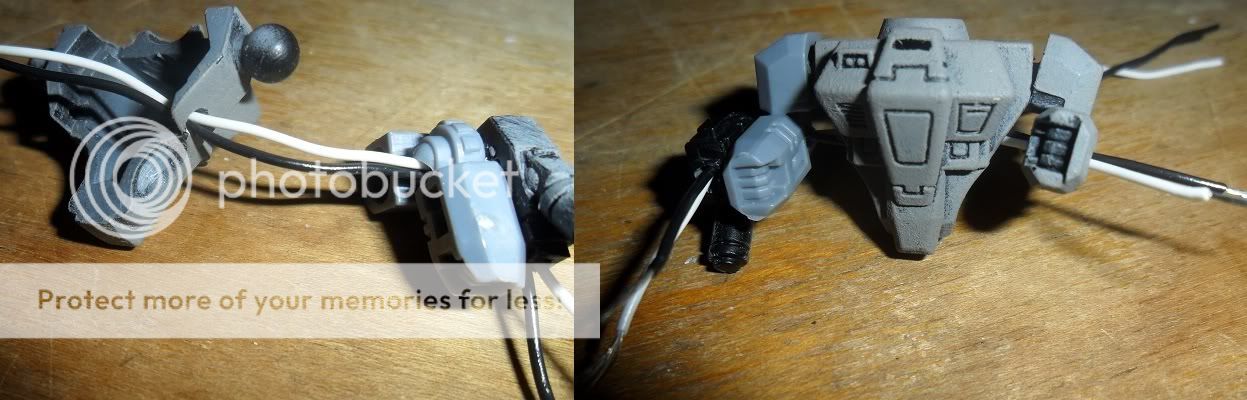
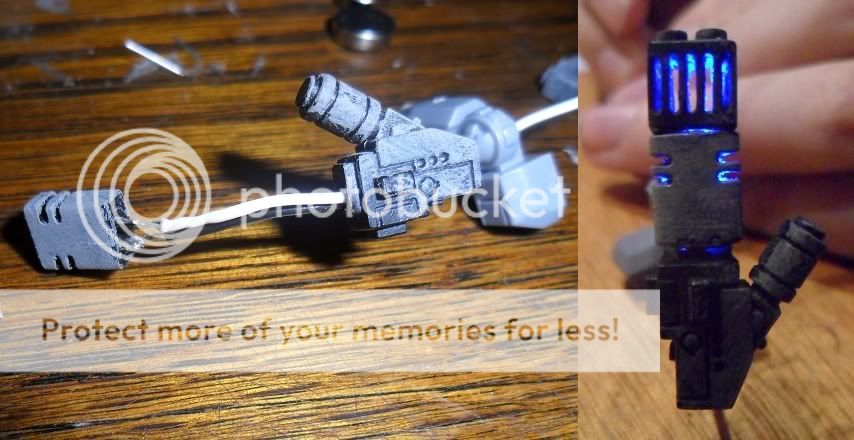
Tapping Out The Fusion Blaster
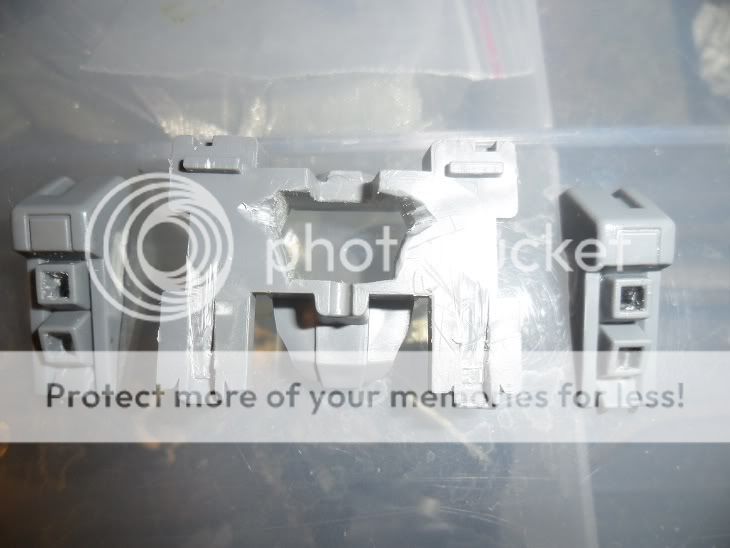
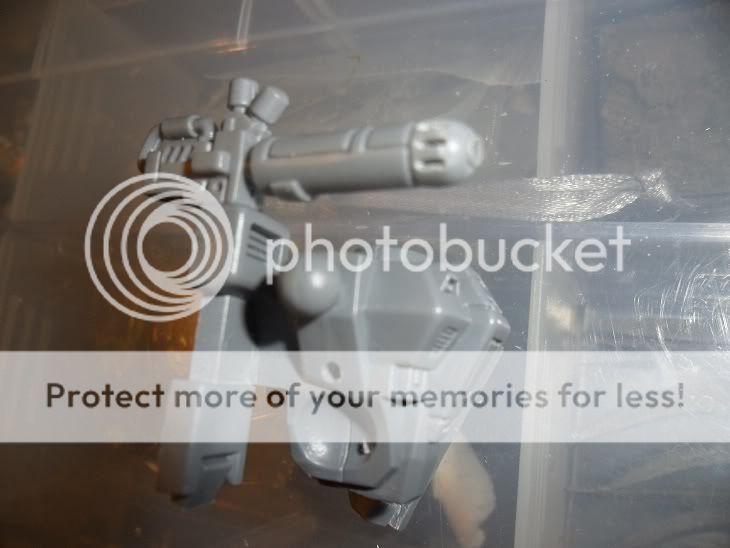
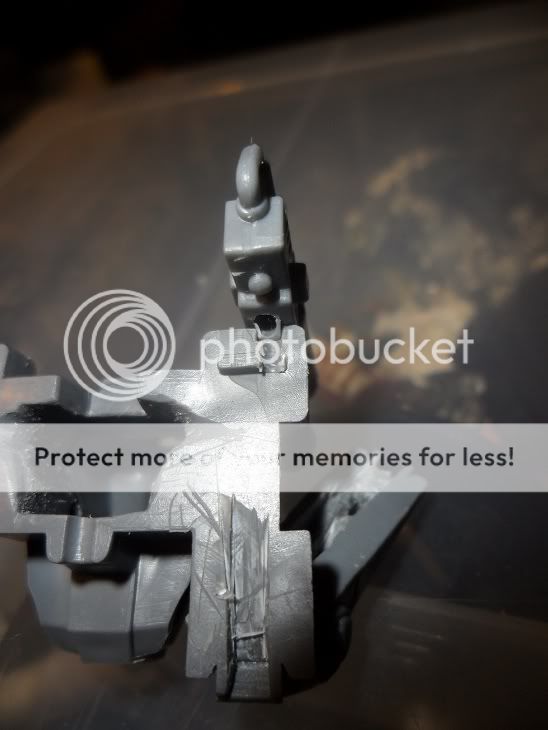
I went with the Fusion Blaster because, well, it has so much potential! This will also be the most fragile piece I worked on, and nothing broke, so anyone should be able to do this. After trial and error, I figured out that this would be easiest for trying this again, so don't be confused by parts being finished when nothing was finished. First, I tapped the two barrels straight in, the top one all the way through. The hole out the back side allows for the wires to be pushed all the way through, then will be filled in once they are re-routed. Tap a hole in from the connecting point to the arm at an angle toward the back of the weapon, so you can re-route the wires later. Cut the weapon into three pieces like I did.
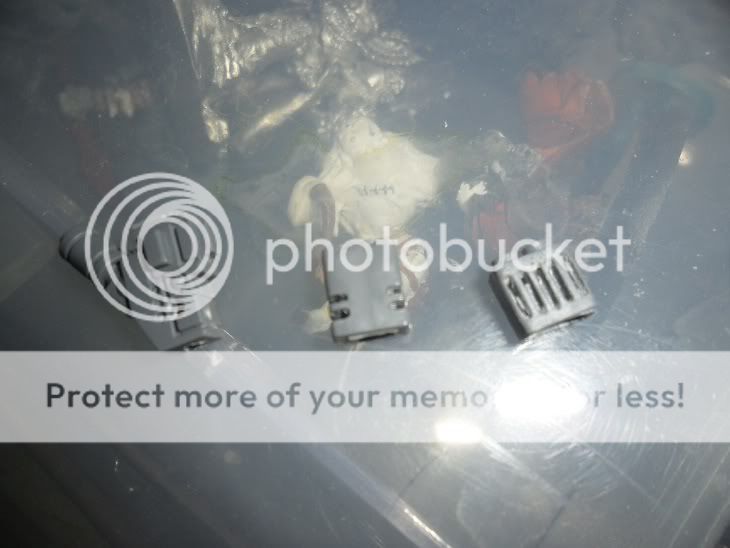
This part took me the longest out of anything; just hollowing it out. I started with the front and worked my way back, due to the front needing to be the most empty, the second doesn't need as much light. I carved out the vents on the front, then went to hollowing, so as to keep those details separate from any rough handling, then the same for the four slots in the second piece. Widen the hole in the third and final part, this is where the LED will be glued down.
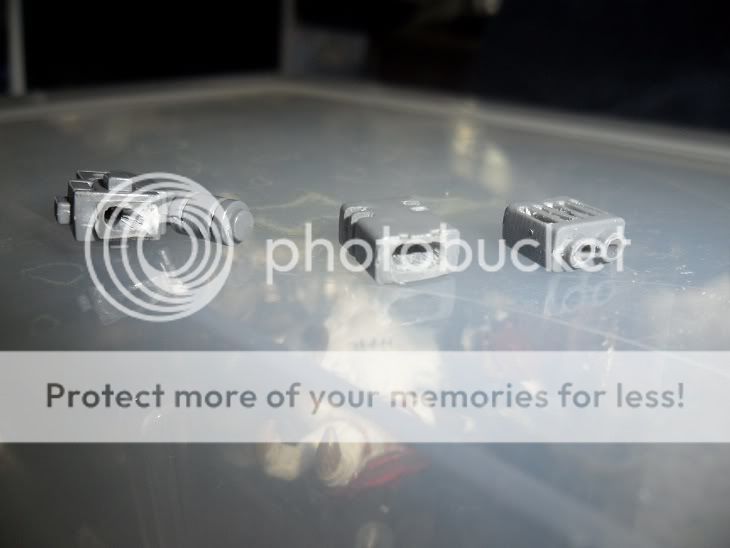
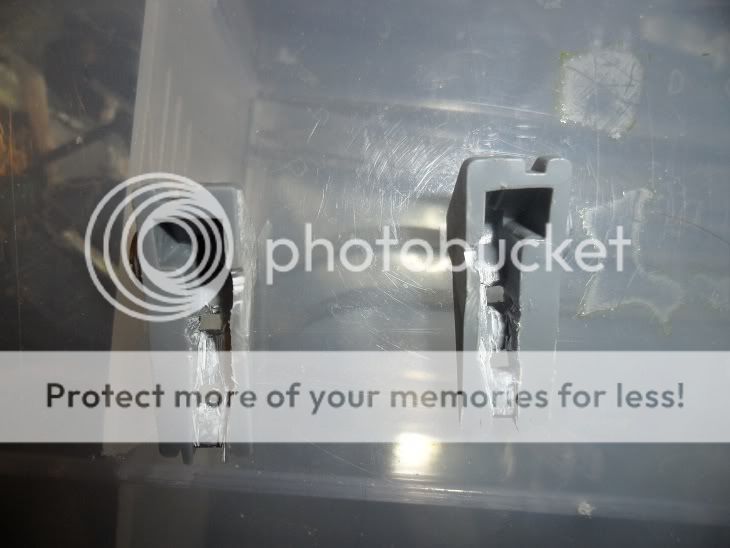
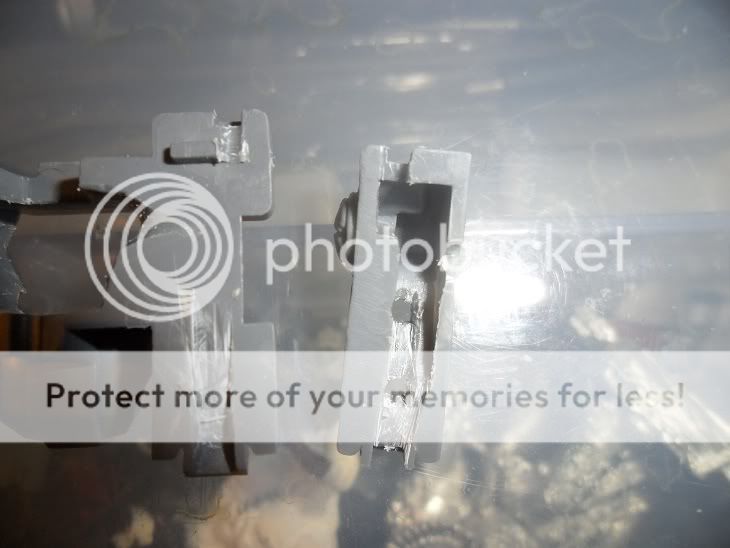
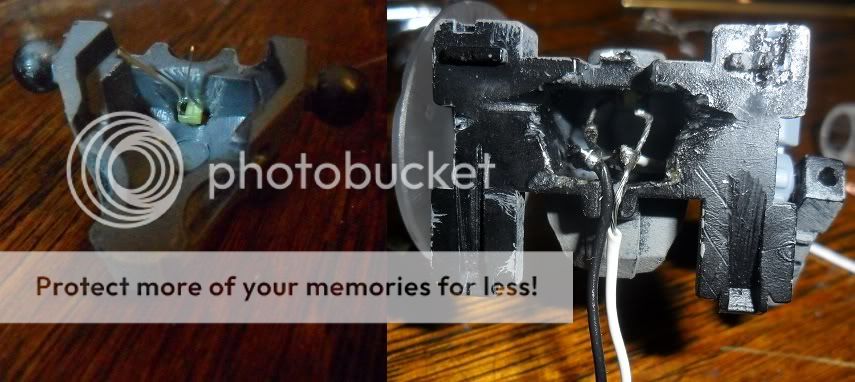
Here's a shot of the same parts, just spun around to see the opposite side. Also shows the hole in the back for re-routing those wires.
The third piece is upside down for how it will attach to the arm for a decent perspective. Tap a hole into the arm from the socket where the weapon will be attached with the same angle as the hole the wires will pipe through on the weapon. Fit them together and rotate your drill bit inside the two now-connected holes to make sure they're flush and connected. If they're not, I found out that an Exacto/hobby knife can widen wither one out enough.
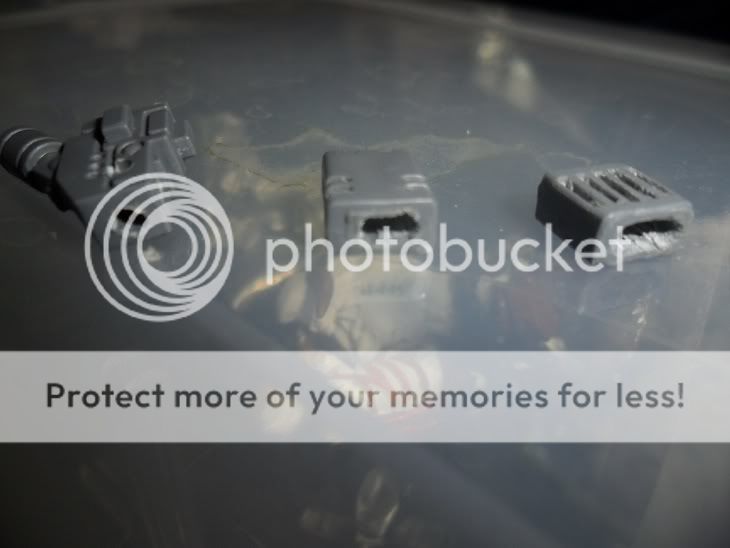
I wanted my right arm to be slightly lowered, so the LED inside won't be so obvious to anyone looking directly at him, so I posed it as such and tapped my hole to have as little wire exposed as possible.
Shoulder-Mounted Plasma Cannon
Since both of my arms are now being used, I need to place my final weapon on a shoulder. This next block will demonstrate how I placed it there and should be backwards-compatible with anything you might want to place on top instead.
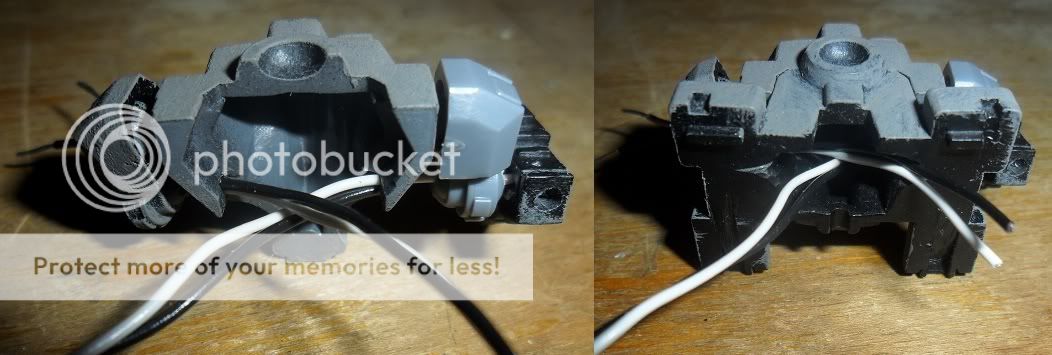
I started out by sandwiching together the backpack and tapping into both pieces, long the seam. This has the right distance for any wire to feed into the anchoring peg used for mounting weapons and equipment to hide inside of.
This picture just helps to show that the wiring will pipe through the pack, but it will be glued down to secure it in place, avoiding the LEDs for the jump-jets.
Now the Plasma Rifle itself is hollowed out. This picture sucks, I know, but I did hollow out the small detail openings on the sides of the crown of the barrel. Tap only just past the small choke point behind the barrel itself, go no further! Also, I tried to tap one of these already, but it came out like garbage because I didn't make a starting hole in the middle of the crown. Make sure you start your holes this way or you'll end up with a lop-sided weapon.
With the Rifle perched on the pack and slid all the way forward, slice the hanging part of the peg off at an angle. This will allow you to tap a hole in at an angle. This should intercept the hole fro the barrel. I checked mine repeatedly by using a key fob light; the plastic will glow brighter the closer you get.
Wiring Out The Suit
At this point, feel free to do the terrain on your base as you feel fit, as well as base-coat and start painting the parts of the Suit as well as glue down the feet to the base for the proper stance. The great part about these Suits is that the ball-and-socket joints at the ankle and hip allow for more dynamic posing as long as you don't glue the ankles before dry-fitting the whole thing together and glue the hip joints.
I'm also going to switch things a little and try to conserve how much room the pictures take, but I'll keep things simple still.
The Base
I received a special little box from my father that changes normal house power into a range of settings, one of them being perfect for these lights. I will show you how to do that.
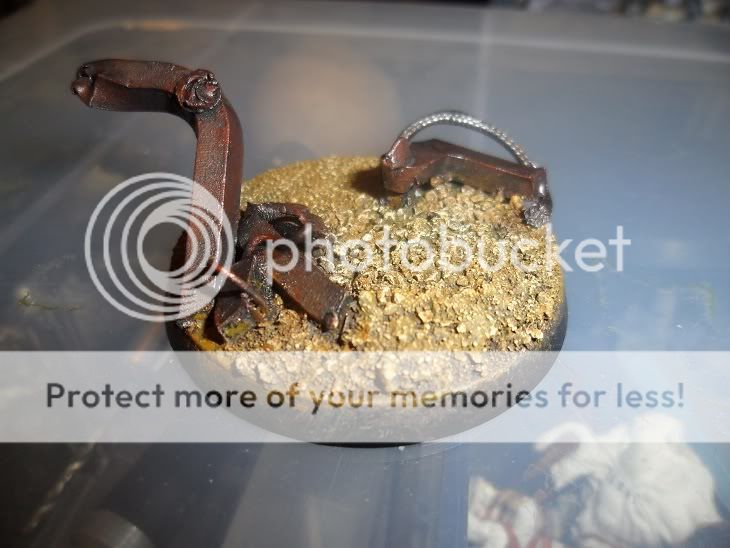
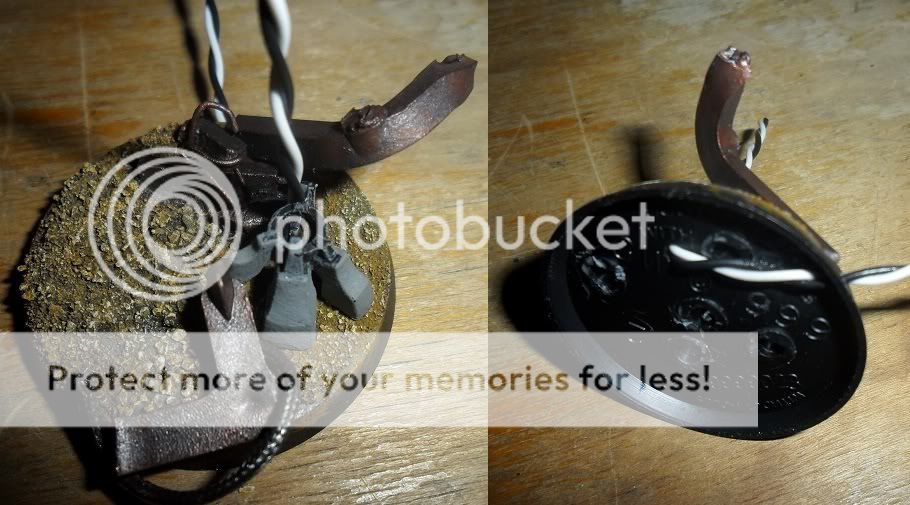
For this, I tapped a hole through the left foot, just behind the ball socket itself, careful not to warp it, checked where I wanted it on the terrain, pinched it in place and marked where the hole would have to be in the base. Along the backside and bottom, I punched a hole for the ire to escape from while keeping the whole thing flush. Once the wires where fed through both holes, I fed it through the foot as well and glued both the feet down. If the wire pushed the base up for you, make sure you have plenty of wire to reach up the leg, through the hole for the clear rods for Jump-Jets, and to the head itself, then glue it to the base on the bottom.
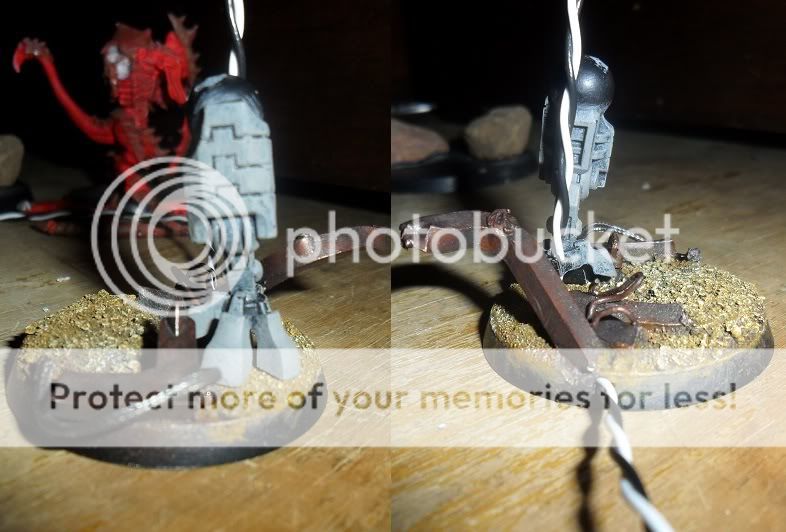
Feel free to pop the ankle joints together, just no gluing them. Whatever leg you decided to go with should simply obstruct the wires from being seen from the front.
The Fusion Blaster and Arms
I've rolled these three parts together because the Fusion Blaster shows how to do it and kills two birds with one stone.
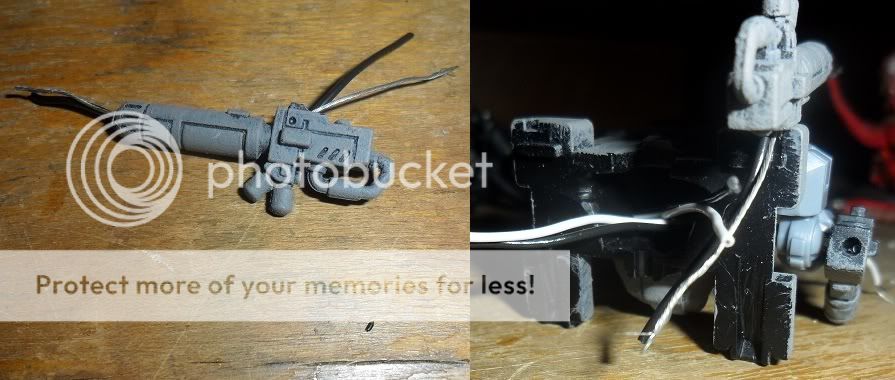
To start with, run both wires into the side of the Blaster at an angle, approaching the barrels. This will be tight, but it will keep the wires between the weapon and arm for their brief exposure.
Don't feed the wire all the way through, probably only enough to keep and soldering from melting the weapon. The rest is fed through the hole in the elbow. If you checked things while tapping holes, the wires should be snug while the normal connection point fits into the socket on the arm. You won't even see the wire from the side directly.

Feed the wire into the front torso piece. The rear one can be cut some to form around the wires is need be, mine was cut away well enough when I tapped the hole. Everything should fit as normal, though the wires need to be slack enough to place the ball into the shoulder well enough for posing. Do the same for the other arm and whatever weapon or utility you're going with. Mine doesn't look like anything, but that's because I need to solder an LED on first, then the Shield will cover the light in the arm itself.
When you've fed the wires from both arms through, they should stick out the back aplenty. Now take the back piece with the hole cut into it and feed the wires through that to allow it to fit into place.
Plasma Rifle and Shoulder-Mounted Hard-Points
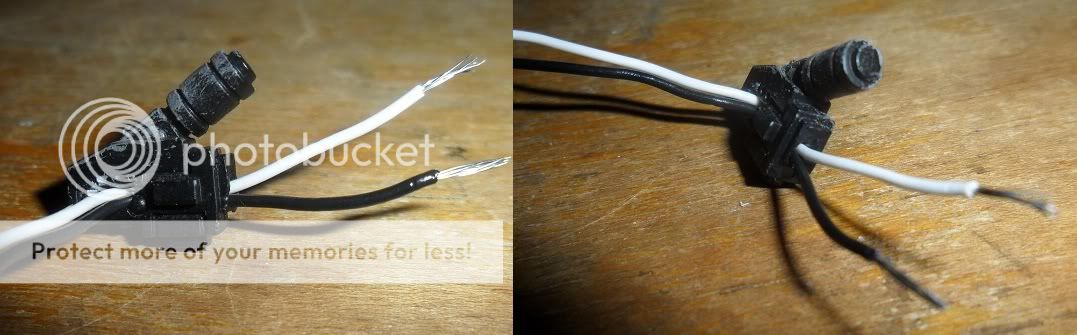
For my Plasma Rifle, I had to strip one of the wires of its insulation to allow for the tight fit. For something like this, I stripped away about a thumb's width on each end, then twisted the wiring inside the same direction to keep them secure, then very, very carefully, sliced through the insulation enough to pick at it and start pulling it away. It takes some time, but doing it by hand teaches you some nifty things in electrics. After twisting both insulated and non-insulated around each other a little, I fed them through the back hole, eventually coming out the barrel. The grooves on the back should still grab hold of the Rifle. Make sure to dry-fit parts on so that the wires can still get to the inside of the torso.
Dry-Fit Everything, Always!
Again, the only things glued at this point are the feet to the base, terrain and the wire underneath. In these pictures, the whole thing it being held upright by friction and wires not wanting to bend much. Sure, it looks all sorts of messy, but it has a pattern and will come together easily. Here is what I, and you, should have at this point:

Lights, Solder, Glue!
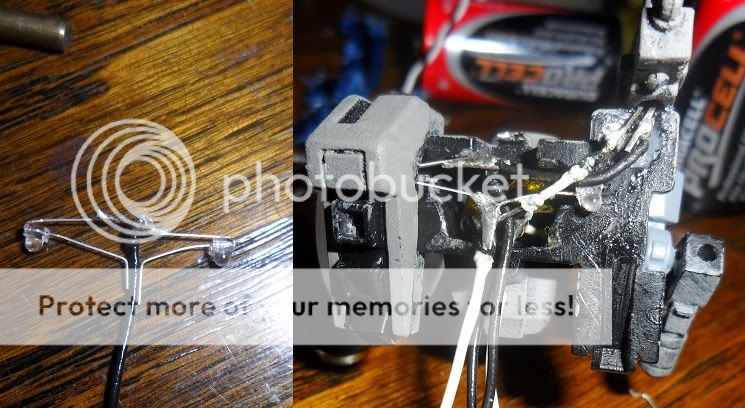
This part is not for the feint of heart, you must know 1) how to use a soldering gun 2) know the basics of electronics and 3) be willing to modify directions. I follow all three with a gusto because anything built is a suggestion to what anyone could do better. I'd like to see people improve this, actually.
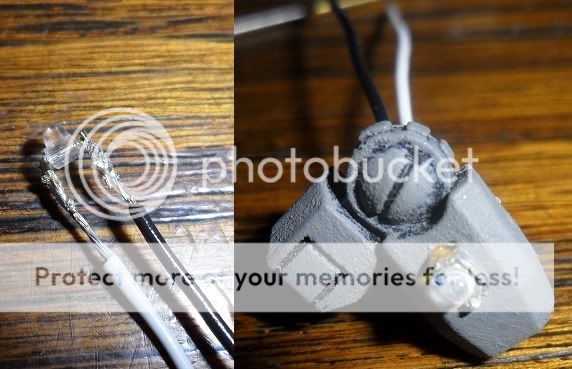
The Shield and arm are first, as they show some of the basics of what to do. Start with checking the LEDs so you know which lead is the negative; LEDs work only one way, so don't panic if it doesn't fork at first. I soldered white for Positive, black for negative, then fed the wires through the hole in the arm. The issue that I had was that the socket wasn't deep enough for the light to sit inside of, so I used my drill bit to dig in further and flatten things out, fit alright then.
Solder-up the light you'd like for the Fusion Blaster, I went with blue for it and the Shield, and trim the light itself if you need. As long as you don't cut too deep, it will work just fine as most of it is pretty much useless, and fit it into the middle segment for the Fusion Blaster. They glue in just fine. Assemble the rest of the weapon and test; should work still.
Now, the Plasma Rifle didn't work out as well as I had planned because the leads for the light simply couldn't pinch in enough, so I cut off the barrel, trimmed the light itself as much as possible and stuffed it right in. The leads where long enough to feed through the rest of the rifle, so I soldered wires on the other side.

For the torso, I hollowed out the little hole in the front and glued a white light right behind it. This will act as a "headlight" of sorts, best with "cold-white", fed the wires for the arms through and soldered together the negatives on the left, positives on the right. This will create a parallel circuit, due to needing to boost voltage for a series circuit. I soldered on extra wires so they'd lead right out of the bottom of the Suit.
This was the trickiest part for me; the first attempt was simply to solder all the lights together, then I tested the whole thing. Only three of six lights came on and was wondering why, so I upped the Amperage without changing the Voltage, but ended up making the three that came on explode. The second time around meant having two circuits, so I soldered two of the lights directly together, then the Plasma Rifle to them to create another parallel circuit. Tested it and everything worked just fine, so I glued everything into place, even covering things up.
unfortunately, my lights didn't stay in position, but oh well.
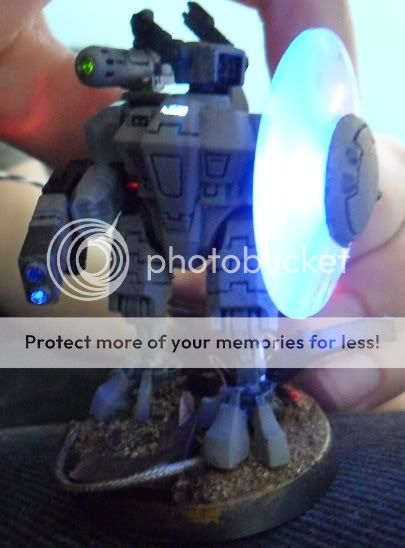
Once finished, it should look like a normal Crisis Suit with some odd holes here and there. I will upload a final picture once I clean it up, paint and have the whole thing lit up.
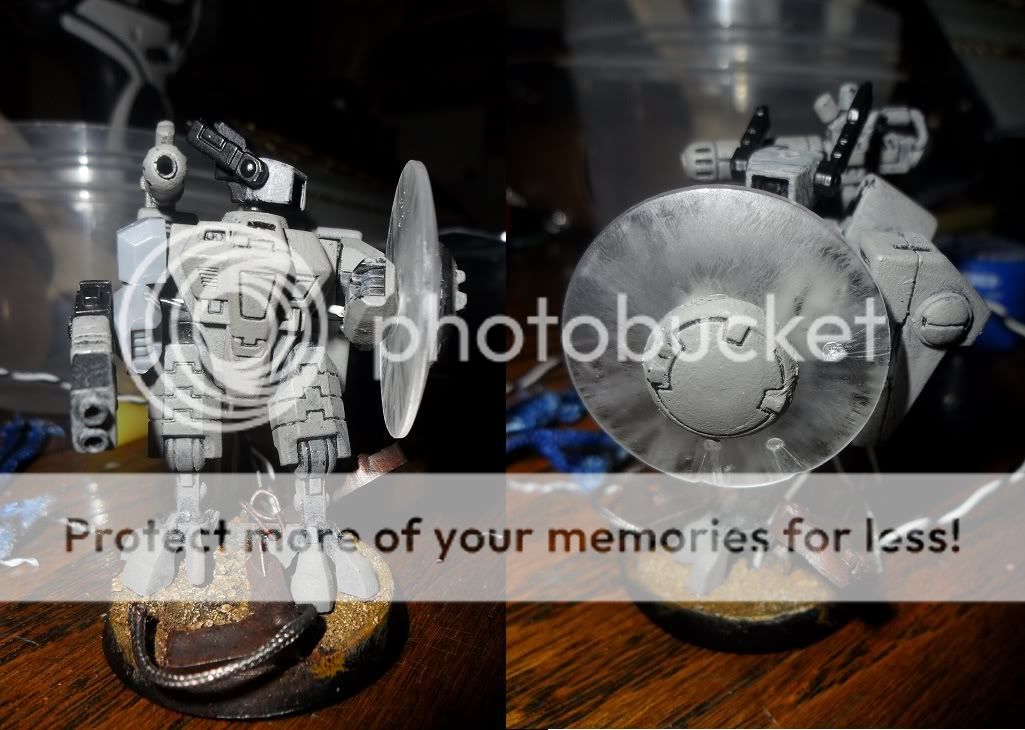
And here is the Suit lit up, though I have some serious gaps to fill with greenstuff and to paint the whole damn thing: