And since it still burns inside that someone here has no need for shiny baubles, I bring photos of the new experiments.
Firstly;
I bought a lovely little model from a bring and buy, recently.. A Hasslefree model called "Acenith"
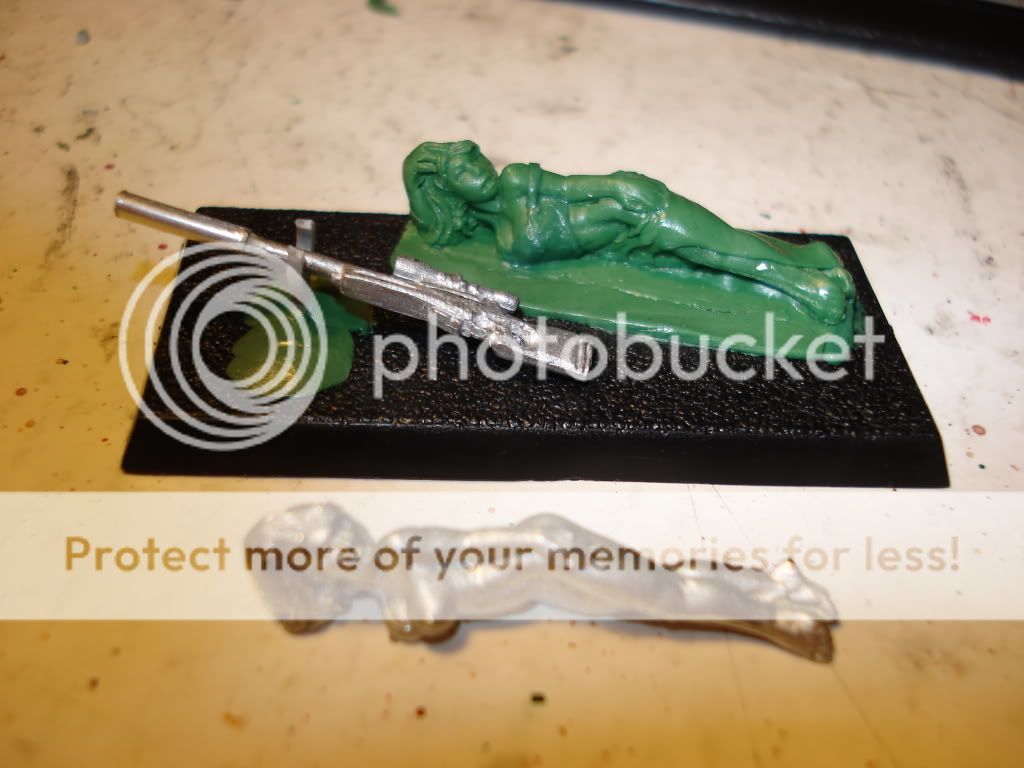
I have sculpted clothes onto her.
But the model came out 95% perfect. That 5% consisting of minor air-bubbles and.. Well. The replica is a tiny bit bigger, because of how I made the mold. Single part meant I had to push the putty in by hand, forcing a bit of a stretch.. I don't need to explain this to you guys.
That mold has made me three 95% perfect replicas so far.
Now.. I got me some Hasslefree Hazmat soldiers, lately.
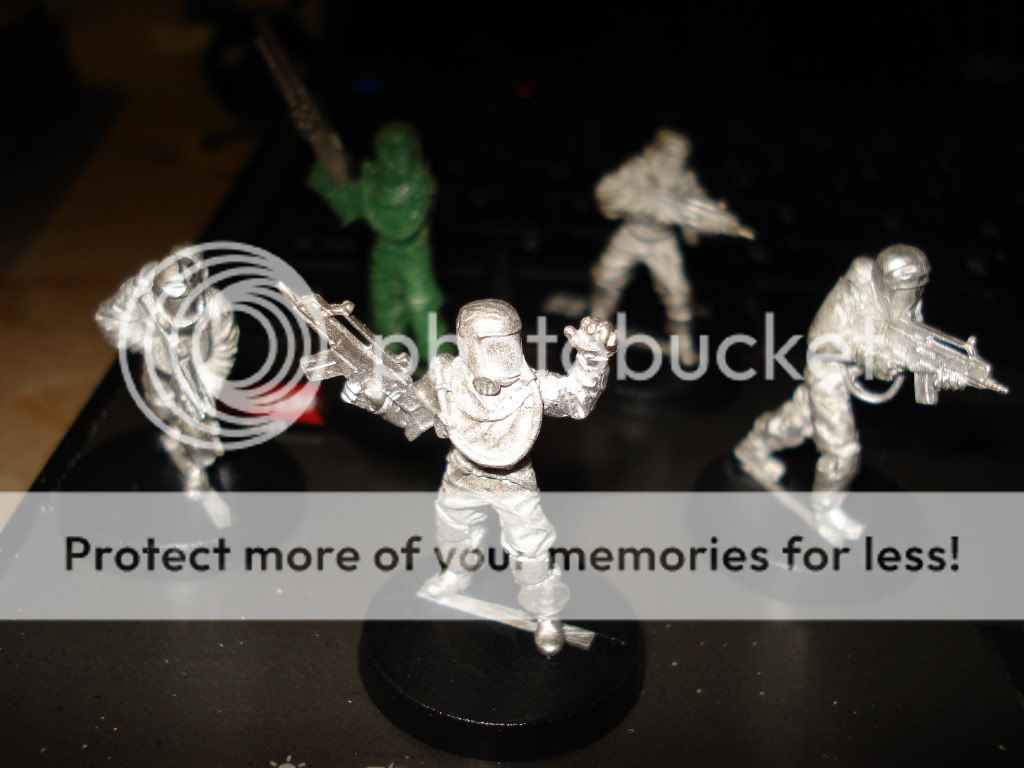
You can see it, already....
I chose this guy because I needed to chop off the arms, to repose and re-arm team-members. It's much easier to sculpt on new arms, than chop off a pair holding onto an assault rifle, repairing the body and then sculpting on new arms..
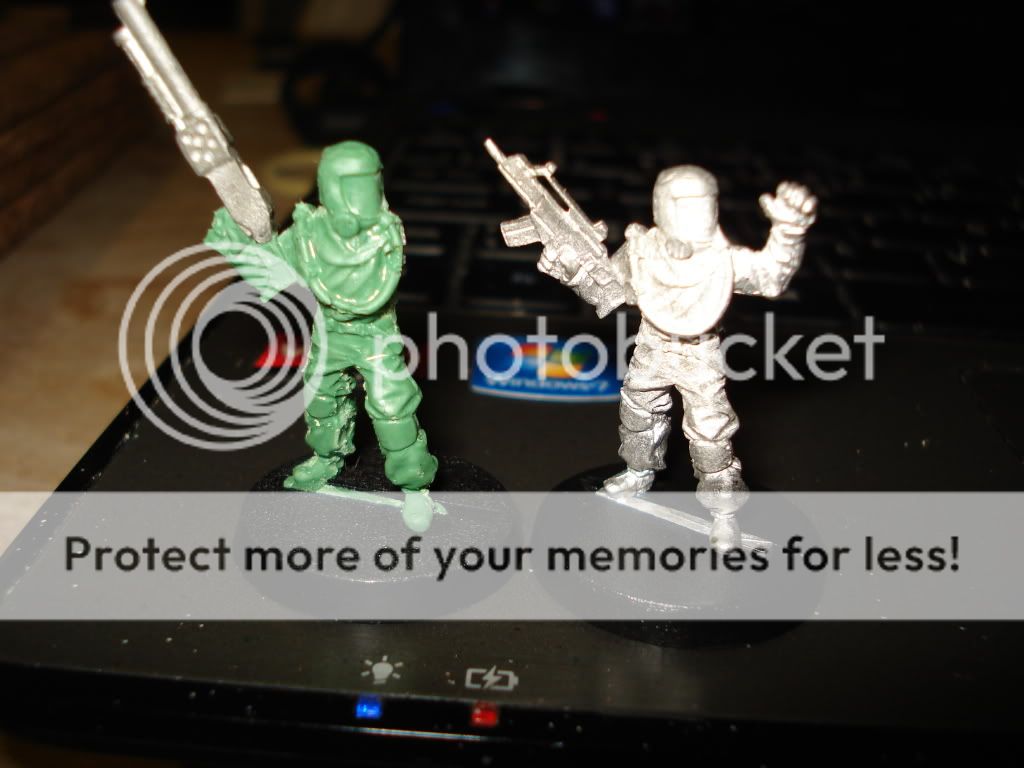
So yes, 99% perfect. The main flaws were air bubbles, again. But this time, as you might see from some.. Rather sloppy cleaning, I used a two part mold.
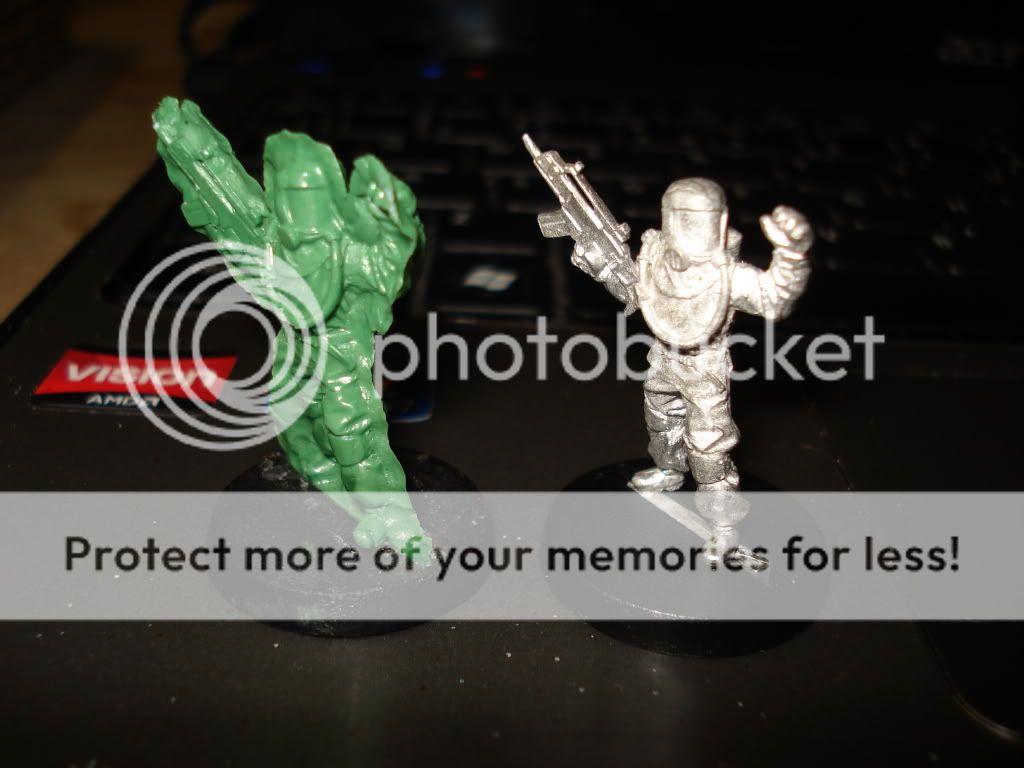
I then made another, and simply plopped a large lump of green stuff in place to "get one done quickly"
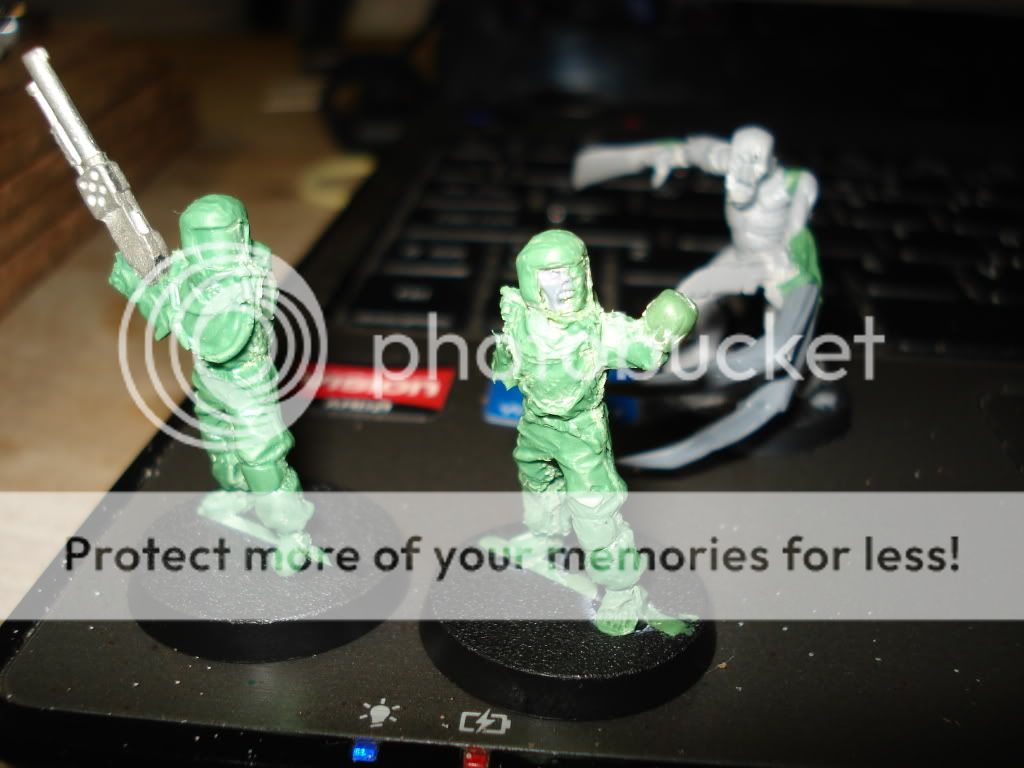
It was miscast horribly. I was aiming to not waste too much in arms that I wasn't going to use, hence the stubs. But there were air bubbles galore.. Now, as a copy it's useless... But Zombies are a merciful subject for messy models.
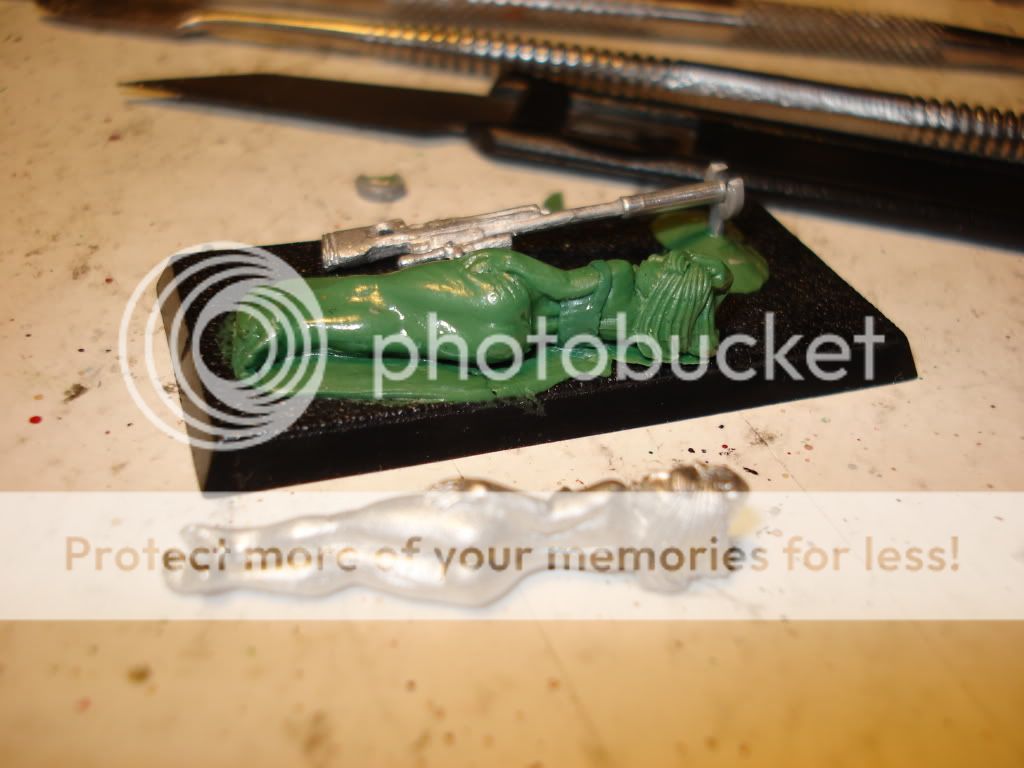
And my latest run of this mold;
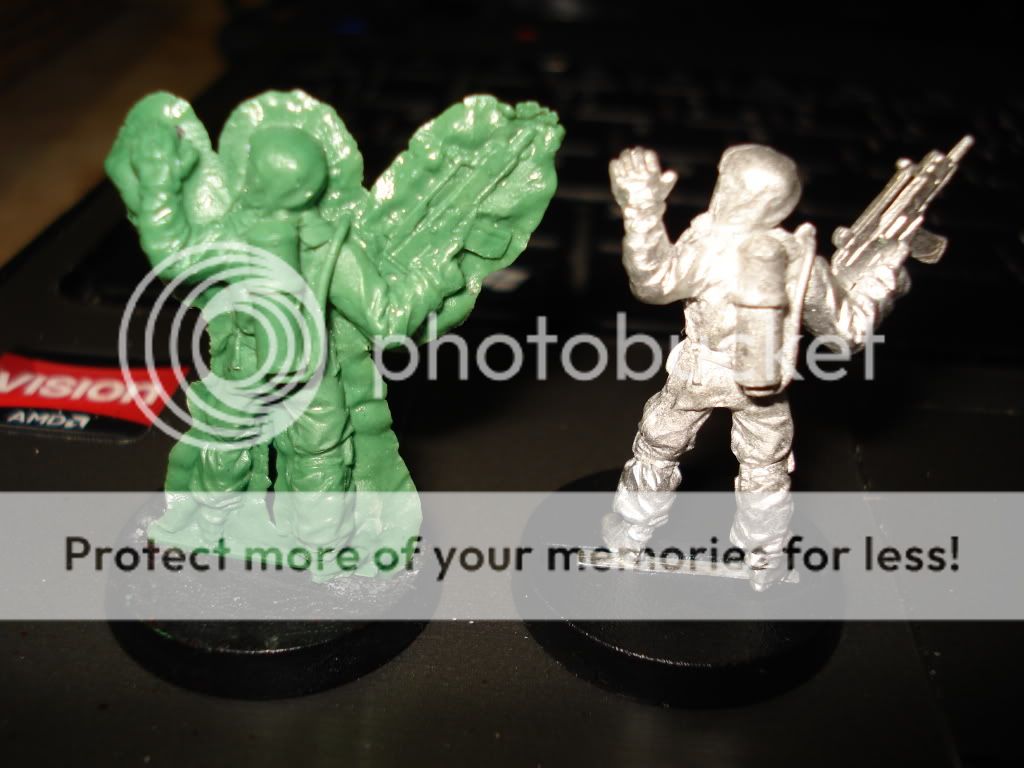
Went damn near perfectly. There are only two places with issues, namely a pipe [that I keep having trouble with] and a slight marr on his shoe.
And this two-part was as simple as thus;
1. Gather lego. If you lack lego.. Well.. Sorry.
2. Build a small frame, about 4x6 studs of space inside. More, if you're after larger models. Make it about 3 bricks high.
3. Build a wedge that will fit inside. This is used to press the mold down firmly.
Bit of advice, use those cool little flat tiles on the inside, and on the flat of the wedge to make sure there's not too much sticking to them..
4. Get your model. Get some blu-tac/ plastecine/ whatever you like that isn't going to set or cling too badly to the model and lego frame.
Get the putty/tac whatever into the rough size to easily fit in the frame. Push the model into it and work out the rough shape of it. Make sure the putty only goes to about half way up the inside.
Now, dismantle the frame a bit, so you can work on setting the model into the putty.
Cut/ dig/ carve out a groove in the putty and place the model inside, using the excess you removed to fill up to raised areas on the model. You need to make sure this stuff is flush against the model.
You've all removed mold lines, so you'll have a good idea of where the lines need to be on the sides of the model.
Push the putty into the lego and push the edges flush against the frame.
Now rebuild the frame.
5. Prepare enough IM to go about 5mm over the model you're molding. Or, about as deep as the layer of putty. Warm it up, press it on gently, flatten it out and then use the wedge and all of your might/ body strength [if you're a small lady, you might want to borrow a few large men ninja ] to push that wedge down on the model. This just makes sure you pack it down well. You needn't worry about melting the lego [ABS plastic has a melting point far above boiling water]. You just need to make sure that as you press, the frame does not start coming apart [mine is too large, it kind of seperates if I try too hard].
6. Wait for the IM to cool and harden. Use cold water if needs be.
7. Dismantle the frame. If you need to take an OCD level of care in ensuring it all goes back in EXACTLY the same order later on, then put the bits you remove back together, seperately..
8. Wriggle and remove the putty. The model will likely come with it.
See if the IM got the likeness well, if not, make sure you neaten up the putty half [rough and lumpy edges on the putty will trap/ weaken the IM as you press and can be a pain in the arse]
Clean the putty off of every surface it touched [I used blu-tac and it was left everywhere. Blu-tac + heat = a bit of melty melty] and put the model into the IM in.. The only position that seems reasonable.
9. Place this half of the mold back into the lego frame, facing model upwards. Rebuild the frame and gather the next load of IM to prepare.
10. Again, put the IM over the model, spread it evenly with your fingers and then press it down, hard.
11. Same as before, wait for it to cool and harden. Then, dismantle the frame and take your whole mold out. It will come apart after some gentle teasing.
Now, the most important part.. When you come to put the putty in to make the replica.. Fill out both halves of the mold seperately, using small balls of GS or whatever you use. Prevents air bubbles and makes a simple join, that when pressed, will become a lovely solid lump. [So make sure you use just a bit more GS than you might need, to make sure the two halves align and fit perfectly.]
Again, when the putty is in, and the halves are together in the frame, stick that wedge in and squeeze the life out of it. Or put the frame between two bits of wood and stand on it. That's what I did..